Code to Cloud: DevOps and Deployment

Introduction:
If you are a beginner and want to create a project using Git and AWS, this one's for you. Its easy and can be played around according to your creativity.
(Too Much Info😉: I always wanted to start a Bakery shop. Hence created this one. Not the real but atleast a virtual bakery 🧁)
Pre-requisites:
GitHub Account
AWS Account
DockerHub Account
Steps
You know the drill for setting up git, if already done scroll a little 🤷🏻♀️
Git setup steps
Connect to your Virtual Machine - using SSM/terminal/putty
Make sure SSH is allowed for your local machine, if not go ahead and create an entry in Inbound Security group.
Once done, open terminal and navigate to the folder location where your Keypair exists.
Give necessary permission to the keypair and ssh to the EC2 machine:
chmod 400 "Your_keypair.pem"
ssh -i "Your_keypair.pem" ec2-user@ec2-<ip>.<region>.compute.amazonaws.com
- Once connected, create a folder for your project: and move inside
mkdir <Folder_Name>
cd <Folder_Name>
If you don't have AWS Account, skip above and directly install git on your Windows/Linux/Mac OS from Here
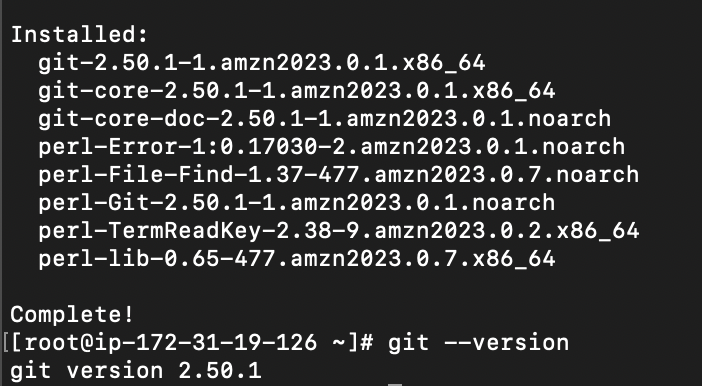
- Install git in your AWS VM:
yum install git
##give Y when prompt for confirmation
- Check version using:
git --version
- Initialize git inside the folder and link it to GitHub details, to ensure connectivity:
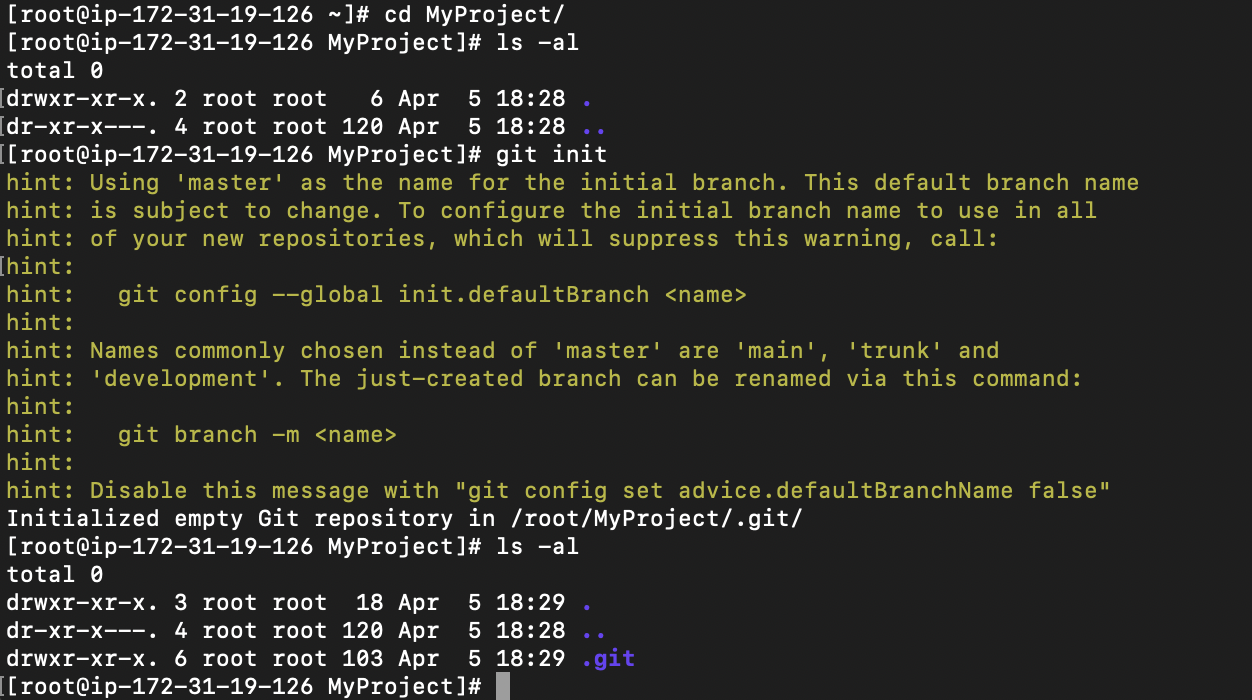
git init

git config --global user.name "Your Name"

git config --global user.email "your-email@example.com"
- Generate ssh-keygen:
ssh-keygen -t ed25519 -C "your-email@example.com"
- Copy the output from:
cat ~/.ssh/id_ed25519.pub
Paste this in mentioned path: setting -> SSH Keys -> create New key -> Paste -> Save
Now create a repository in GitHub with Public visibility.
Connect to the same using the link in the code section, it has both SSH and HTTPS. Since I don't want to use Password frequently, I will be using SSH option (In the above steps we stored SSH keys in Github, so no need to give password multiple times)
git remote add origin git@gitlab.com:username/repo.git

##Use below if you want to change the remote repo origin
git remote set-url origin git@gitlab.com:username/repo.git
Start from here if git is already setup
- Now check remote repo is added:
git remote -v
Write the index files for frontend, and Name it index.html
Once done check git status and add the file from working directory to staged area:
git status

git add .
- Now commit the file:
git commit -m "Your_Commit_Message"
- Check logs to see your commit and push the same to github repo:
git log

git push -u origin main

##Use below to set upstream
git push --set-upstream origin master
To view the webpage, you need to enable the github pages / or use S3 directly incase you are not using EC2.
Go to repository settings -> General -> Pages
Keep source the default (Deploy from branch)
Branch - select your branch
Keep folder as root and save
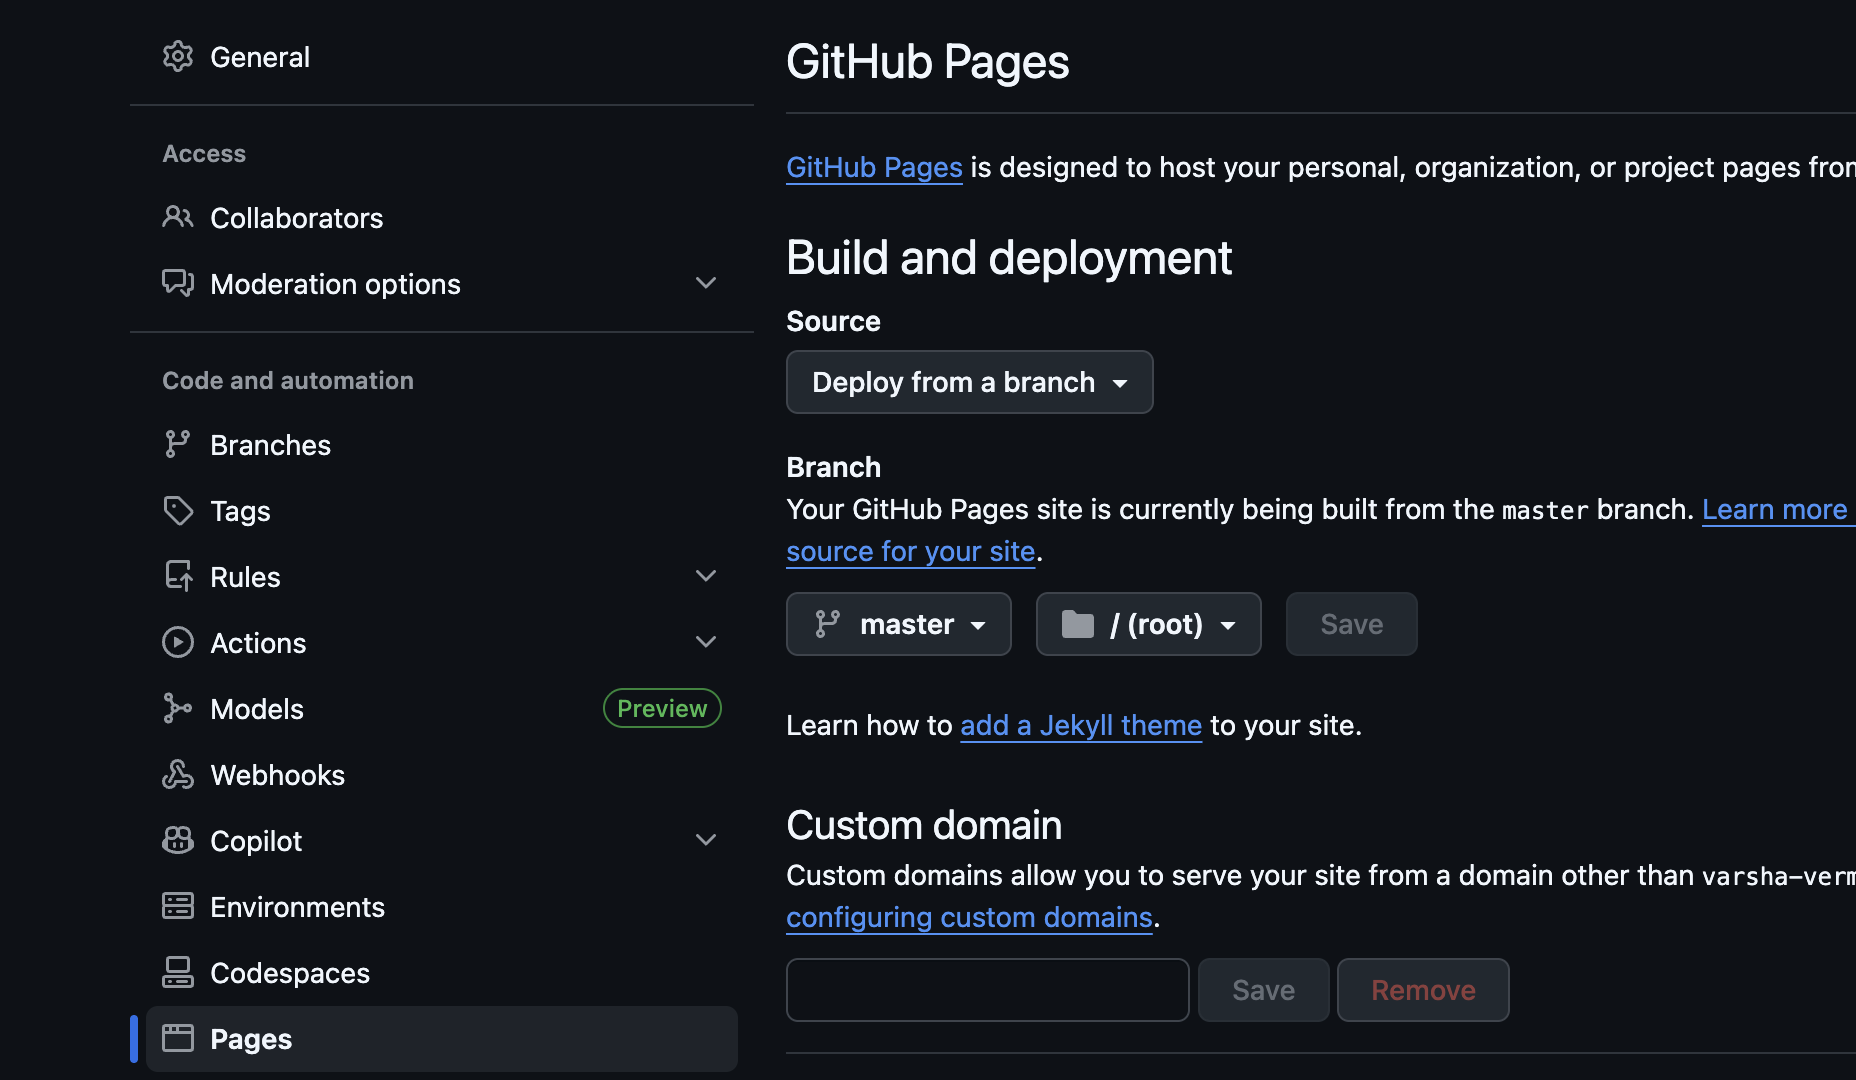
- Now come back to repo and click on this deployments:
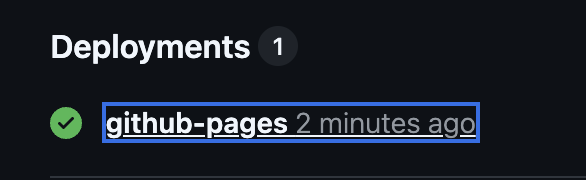
- It will redirect you to the Deployments page and there you can see your Github-pages. Click on link to view it:
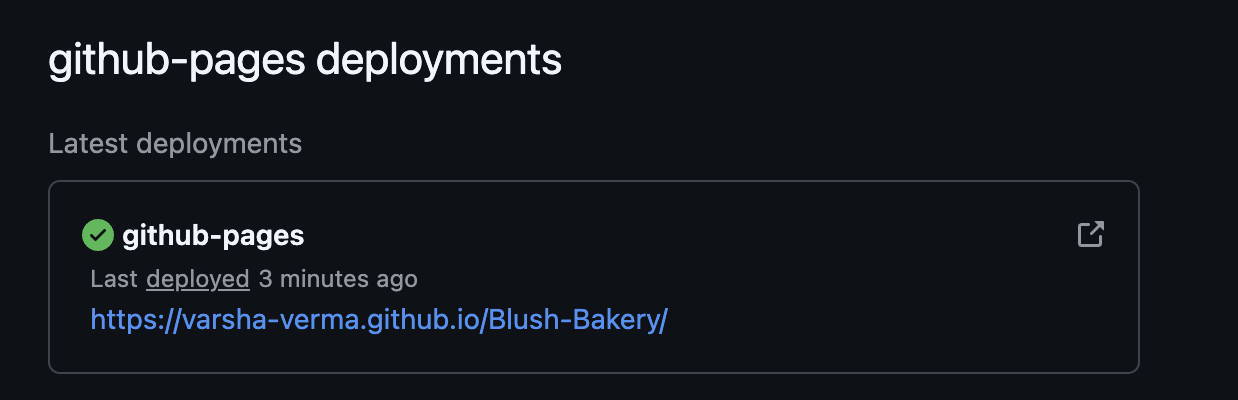
You have hosted your website using GitHub!!! Congratulation 🎉
Now Dockerize it 👩🏻✈️
- Firstly install docker in your VM:
yum install docker
- Make sure Docker service is running and enabled. Post installation, we need to do it manually:
sudo systemctl start docker
sudo systemctl enable docker
sudo systemctl status docker
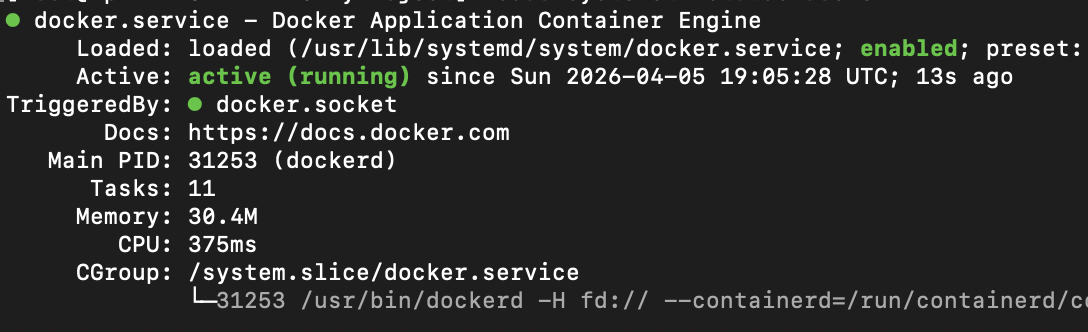
- Then be in same directory where you kept index file and create new file name Dockerfile
vi Dockerfile
Paste the content and save
Now check, there wont be any container running:
docker ps
- Add user to the docker group to avoid user issue will creating or running containers:
sudo usermod -aG docker $USER
- Now build Docker image:
docker build -t blush-bakery .
- Check the image details via:
docker images

- Run docker container:
docker run -d -p 8080:80 blush-bakerydocker run -d -p 8080:80 blush-bakery
Make sure you EC2 has open ports:
- Add:
| Type | Port | Source |
|---|---|---|
| HTTP | 80 | 0.0.0.0/0 |
Or:
- If using 8080:
| Type | Port | Source |
|---|---|---|
| Custom TCP | 8080 | 0.0.0.0/0 |

- Now check the website using:
http://<Public_IP_of_EC2>:<Port_Number>
❗ If It’s Not Working:
🔍 Check Container Port Mapping
Run:
docker ps👉 Look for:
80->80✅ (best)
8080->80→ use port 8080 in browser
- I have used 8080:

Check in browser and Voila!!!!⭐️
- You can check logs:
docker logs <container-id>
Push it to Docker Hub
Make sure you have account in Docker Hub, if not sign it.
From your VM, login to the Docker Hub:
docker login
Tag your image and replace t:
Name with any Name you want it to give.
The username with your Docker Hub username:
Image_Name with the Name of the docker image in your VM (Check with docker ps/docker image)
docker tag <Name> yourusername/<Image_Name>:latest
- Push the image:
docker push yourusername/<Image_Name>:latest
🎉 Done → Your image is now in cloud registry
- Go to Docker Hub and check, Now anyone can pull it and run it without any dependencies. As every dependency is packaged inside the image.
It's now working in my Machine
The container image in a central registry so it can be used anywhere
- Pull and run it on any EC2 Instance:
docker pull yourusername/blush-bakery:latest
docker run -d -p 80:80 yourusername/blush-bakery
Use my Docker image
docker pull varsha0108/blush-bakery
Use this directly to build the container on your EC2 instance.
Your Turn
Fork it⋔, star it ⭐️ and show your creativity 😉
Repo Link 🔗 : Here
DockerHub Link: Here
Connect with me
Thanks for reading till the end, I hope it was helpful.
If you like my work, Let's connect and collaborate😃. I am available on the below platforms and very much active there:
Linkedinℹ️
GitHub😻
Blogs👩🏾💻
Topmate🤝
AWS Blogs☁️
Let me know if this helps and feel free to add your suggestions and resources to help the community🤝
Happy learning!!